How build and deploy your app with JustDeploy ?
JustDeploy is a free, open-source command-line tool (CLI) designed to streamline your development process. It allows you to easily manage your projects, databases, and environments, while deploying your application to any VPS of your choice. No vendor lock-in, no extra costs—just pay for your server and take full control over where you deploy your SaaS.
In this guide, I'll show you why JustDeploy is a better choice than writing your own deployment scripts, how to install it, and how to easily use it to deploy your next SaaS application.
Why Choose JustDeploy Instead of Writing Your Own Scripts?
Writing custom deployment scripts for every part of your SaaS development process can quickly become complicated and time-consuming. With JustDeploy, you get an all-in-one solution that lets you:
- Full control: Deploy your application to any VPS, with no restrictions or vendor lock-in.
- Avoid vendor lock-in: You’re not tied to a managed cloud solution, giving you more flexibility.
- Lower your costs: You only pay for the server, with no additional costs for deploying your application.
Using JustDeploy ensures that you retain control over your deployment, and since it’s open-source, you benefit from a community-driven tool designed to make your life as a developer easier.
Step 1: Install JustDeploy
Setting up JustDeploy is quick and easy. Before you begin, make sure your development machine meets the following prerequisites:
- SSH: For secure connections and deployments.
- Docker: To handle containers and environments.
- OpenSSL: For generating certificates.
To install JustDeploy, simply run the following command in your terminal:
curl -fsSL https://get.justdeploy.app | bash
Once installed, you can launch JustDeploy by running:
justdeploy
JustDeploy will now be running locally on your machine, ready to help you manage your projects, databases, and environments.
Step 2: Add Your Application to JustDeploy
When JustDeploy is running, it opens a local web interface where you can manage your application and services. To add your application, follow these simple steps:
- Press
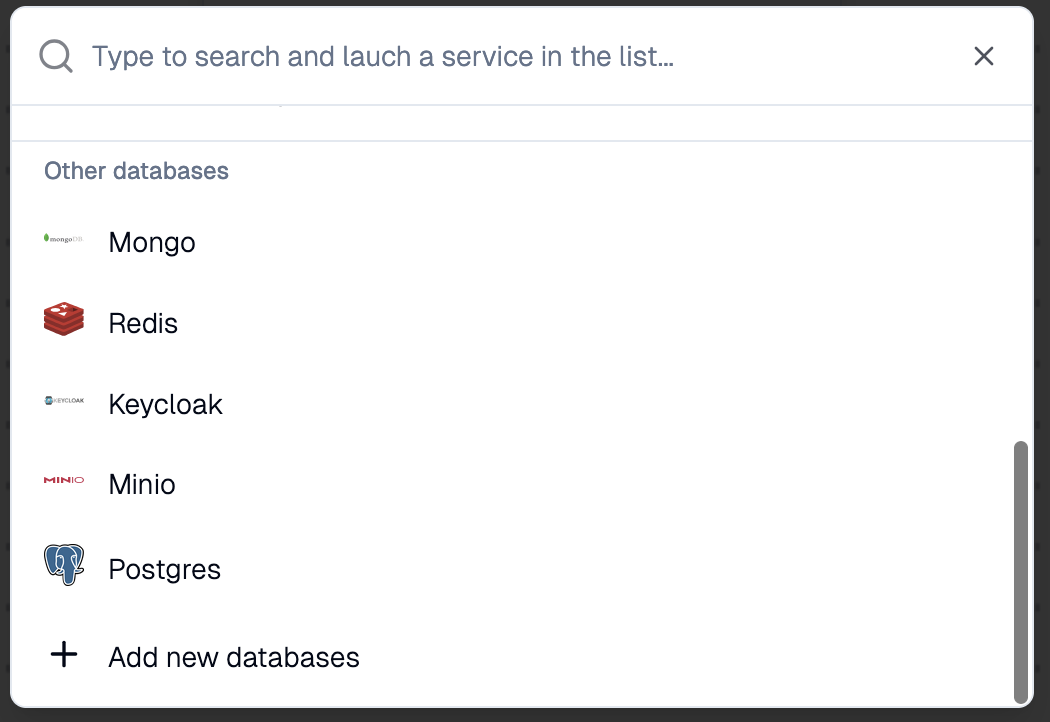
Command + Kto open a modal window where you can add the folder containing your project. - After adding your project folder, you can configure as many services as you need, including databases and environments.
Available Services

JustDeploy is open-source, so feel free to create a pull request to integrate any service you want !
Step 3: Deploy Your Application to a VPS
Deploying your SaaS application using JustDeploy is simple and straightforward. Follow these steps to deploy your app to a VPS:
- Add a new server: Click the settings button and add a new server. You’ll need to associate a domain or subdomain with your server by creating an A record pointing to your VPS’s IP address.
-
Configure wildcard DNS: Make sure to add a wildcard DNS entry for your subdomain. This will allow you to manage multiple environments under the same domain, essential for scaling your SaaS.
-
Deploy your application: After configuring your server and domain, click "Deploy." You can now select the server where you want to deploy your app. Once selected, JustDeploy will handle the deployment process for you.
That’s it! No need for complicated manual configurations or custom scripts. JustDeploy simplifies the entire process of deploying your Node application, databases, and services to any VPS of your choice.
By using JustDeploy, you can focus more on building your SaaS and less on managing deployments. Don’t forget to check out our GitHub community and join our Discord for more discussions and support!